Working with Job Tree
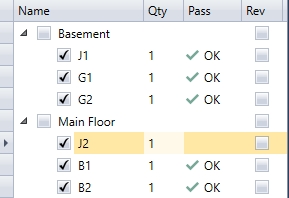
Naming Levels
To name the level users can click on the Level of the job tree and it will bring up on the right an area where the user is able to name or rename the level they have selected. As seen in below image the level selected was Level 1; The user is now able to name the level on the right side where it says Level Name

Adding and Deleting Levels
For a user to add a new level they can select add new level in the navigation menu and name it.
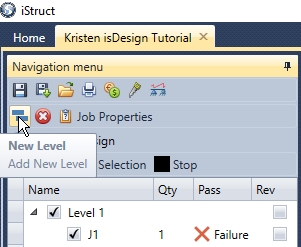
To Delete a level users can use the delete checked items button to the right of the new level button or they can right click on the level and it will give users an option to delete that level. Please see below images for both examples.
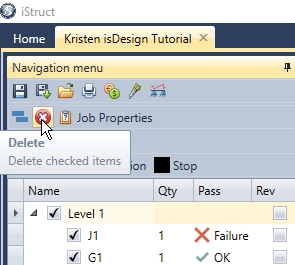
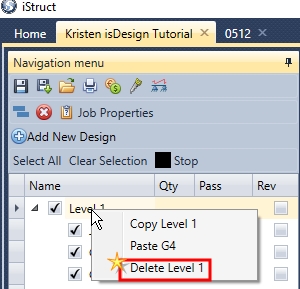
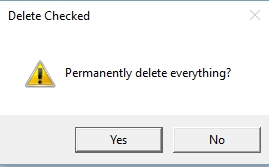
If users have not deselect items they DO NOT want deleted they still have a chance to change this as a prompt comes up asking users if they want to permanently delete everything selected.
Adding Members
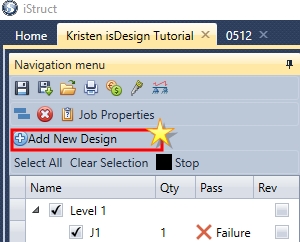
Users can add members by selecting Add New Design in the navigation menu.
Copying and Moving Members
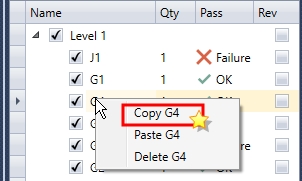
To copy a member users can right click on the member desired. This allows them to click on copy G4 for example.
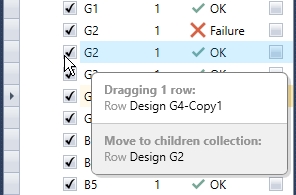
To move a member users can left click on the member and drag to desired location in the job tree.
Reviewed Checkbox
This is an optional field in the job tree that is commonly used by someone reviewing a design job. Can be useful when reviewing a job with a lot of calcs as a way to mark items off the list and track the review process.
This is a toggle on/off field that does not impact the job and does not print on member designs.